

28 May How to Spray Paint Bathroom Fixtures
Spray painting bathroom fixtures is a fantastic way to transform the look of your bathroom without breaking the bank. Whether you’re tired of the outdated brass or want to add a pop of color, spray paint offers a cost-effective and customizable solution. In this article, we will guide you through the process of spray painting bathroom fixtures, providing step-by-step instructions and helpful tips to ensure a successful project.
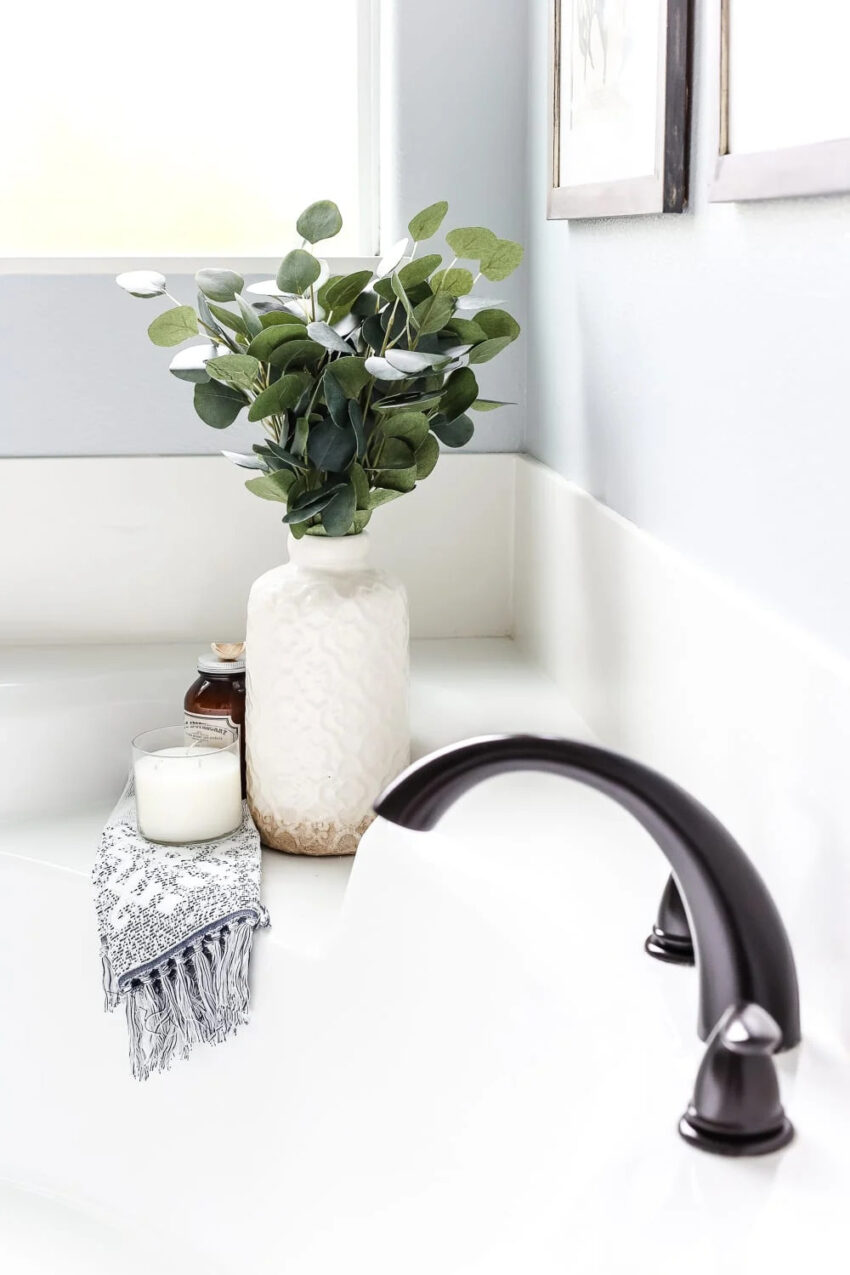
Benefits of Spray Painting Bathroom Fixtures
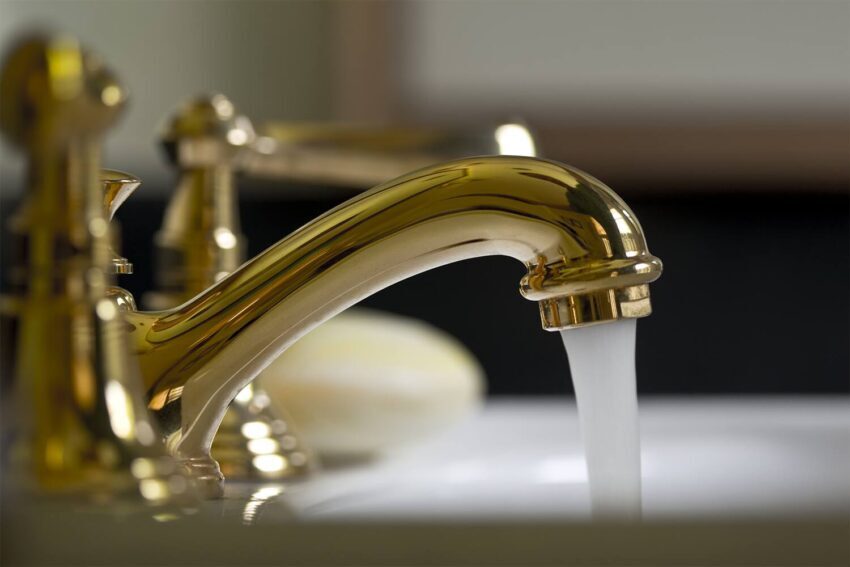
Image source: Google.com
Spray painting your bathroom fixtures has several benefits, making it an appealing option for homeowners. Let’s explore some of these advantages:
Enhancing the Appearance
One of the main reasons people choose to spray paint their bathroom fixtures is to enhance the overall appearance of their space. By giving a fresh coat of paint to dull or outdated fixtures, you can instantly modernize and revitalize the look of your bathroom. Additionally, if you want to explore alternative options beyond traditional paint, you can discover cork spray pros and cons. Cork spray offers a unique texture and natural look, which can add a touch of warmth and character to your fixtures. However, it’s important to consider the pros and cons of cork spray before deciding if it’s the right choice for your bathroom. With various paint colors available, you can choose a shade that complements your existing decor or adds a bold statement.
Cost-Effective Solution
Replacing bathroom fixtures can be costly, especially if you want to upgrade multiple items. Spray painting provides a cost-effective alternative, allowing you to achieve a similar result at a fraction of the cost. You can save money by repurposing and revitalizing your existing fixtures while achieving a desirable outcome.
Customization and Color Options
Spray painting bathroom fixtures offer unparalleled customization options. Instead of settling for the limited choices available in stores, you can unleash your creativity and choose any color that suits your taste and style. Whether you prefer a sleek and modern look or a vibrant and eclectic vibe, spray paint allows you to personalize your fixtures to match your unique vision.
Preparing for Spray Painting
Before diving into the spray painting process, proper preparation is crucial. Follow these steps to ensure the best results:
Cleaning the Fixtures
Start by thoroughly cleaning the bathroom fixtures you plan to paint. Use a mild detergent and water solution to remove dirt, grime, or grease buildup. Rinse the fixtures well and allow them to dry completely before proceeding.
Sanding and Priming
Next, sand the surfaces of the fixtures gently. This step helps to create a rough texture that allows the paint to adhere better. After sanding, wipe away any dust with a clean cloth. Then, apply a primer specifically designed for the material of your fixtures. The primer helps the paint bond to the surface and provides a smooth, even base.
Steps to Spray Paint Bathroom Fixtures
Now that you’ve prepared the fixtures, it’s time to begin the spray painting process. Follow these steps to achieve a professional-looking result:
Gathering Supplies
Before you start, gather all the necessary supplies. You’ll need spray paint suitable for the material of your fixtures, a primer, sandpaper, painter’s tape, plastic sheeting or drop cloths, gloves, safety goggles, and a respirator mask for protection.
Removing Fixtures
Remove the fixtures from their respective places to make the painting process easier. For fixtures that cannot be removed, use painter’s tape and plastic sheeting to protect the surrounding areas from overspray.
Masking and Protecting Surrounding Areas
Carefully mask off any areas you don’t want to be painted using painter’s tape. Cover nearby walls, floors, and countertops with plastic sheeting or drop cloths to prevent accidental overspray.
Applying Primer
Apply a thin and even coat of primer to the fixtures, following the manufacturer’s instructions. Hold the spray can about 6 to 8 inches away from the surface and use sweeping motions to achieve smooth coverage. Allow the primer to dry completely before proceeding to the next step.
Spray Painting Technique
Once the primer is dry, it’s time to apply the spray paint. Shake the can vigorously for a minute to ensure proper mixing. Hold the can at the recommended distance from the fixtures and apply the paint using steady, overlapping strokes. Start with a light coat and gradually build up the layers until you achieve the desired color and coverage. Remember to allow each coat to dry before applying the next.
Drying and Curing
After you’ve applied the final coat of paint, let the fixtures dry according to the paint manufacturer’s instructions. Proper drying time is crucial for a durable finish. Once dry, allow the fixtures to cure for the recommended period before using them.
Tips and Tricks for Successful Spray Painting
To ensure the best results when spraying and painting bathroom fixtures, consider the following tips and tricks:
Proper Ventilation
Always work in a well-ventilated area or wear a respirator mask to protect yourself from paint fumes. Open windows and doors to allow fresh air to circulate during the painting process.
Layering Technique
To achieve an even and smooth finish, apply thin and multiple coats of paint instead of a single heavy coat. This technique helps prevent drips and runs and ensures a professional-looking result.
Avoiding Drips and Runs
Hold the spray can consistently from the fixtures and maintain a steady motion while painting. Avoid oversaturating any particular area to prevent drips or runs in the paint.
Using Multiple Coats
To achieve a vibrant and long-lasting finish, applying multiple coats of paint is essential. Each coat adds depth and richness to the color, ensuring a visually appealing result.
Maintenance and Care of Spray Painted Fixtures
Once you’ve successfully spray-painted your bathroom fixtures, it’s important to maintain and care for them properly. Follow these guidelines to preserve the beauty and longevity of your newly painted fixtures:
Cleaning Instructions
Use mild soap and water solutions or non-abrasive cleaners when cleaning your spray-painted fixtures. Avoid harsh chemicals or abrasive scrubbers, which can damage the paint finish. Gently wipe the fixtures with a soft cloth or sponge to remove any dirt or stains.
Avoiding Abrasive Cleaners
Avoid using abrasive cleaners or scouring pads on your spray-painted fixtures, as they can scratch or dull the paint surface. Stick to gentle cleaning methods to preserve the integrity of the paint.
Touching Up
Over time, your spray-painted fixtures may experience minor wear or chipping. To maintain their appearance, keep some extra paint handy for touch-ups. Follow the original painting process to ensure a seamless and consistent finish.
Conclusion
Spray painting bathroom fixtures is an excellent way to refresh the look of your bathroom while staying within budget. With its numerous benefits, including enhanced appearance, cost-effectiveness, and customization options, spray paint offers a practical solution for homeowners. You can achieve professional-looking results by following the step-by-step process, preparing the fixtures properly, and using the right techniques. Remember to care for your spray-painted fixtures by gently cleaning and performing touch-ups as needed. Enjoy your bathroom’s transformation and renewed ambiance with beautifully spray-painted fixtures.
You may like to read How to Clean a Golf Bag
Sorry, the comment form is closed at this time.